How to Take a Snapshot on Windows 10
How to screenshot on Windows 10
Quickly capture what you see

(Image: © Jasni / Shutterstock)
While it's a necessary skill, learning how to screenshot in Windows 10 is a surprisingly easy thing to do. You might have to constantly screenshot for your job or like to just share something funny or meaningful with friends and family. Regardless, we can help you master this skill. Whether you're on Windows 11 or an older version of the operating system, there's no need to be worried. You can follow these same steps to get results.
- How to play DVDs in Windows 10
Taking a screenshot in Windows 10 does not typically take very many steps. Pressing the Print Screen button on your keyboard is the simplest and fastest way to do so. But, there are other ways to take a screenshot and for different purposes, whether you need just a specific window or want to do a freeform screenshot. For each process, the steps might be slightly different but they're still simple.
It's even simpler if you're using a machine from Apple. Just take a look at our guide to taking screenshots on a Mac if you need help.
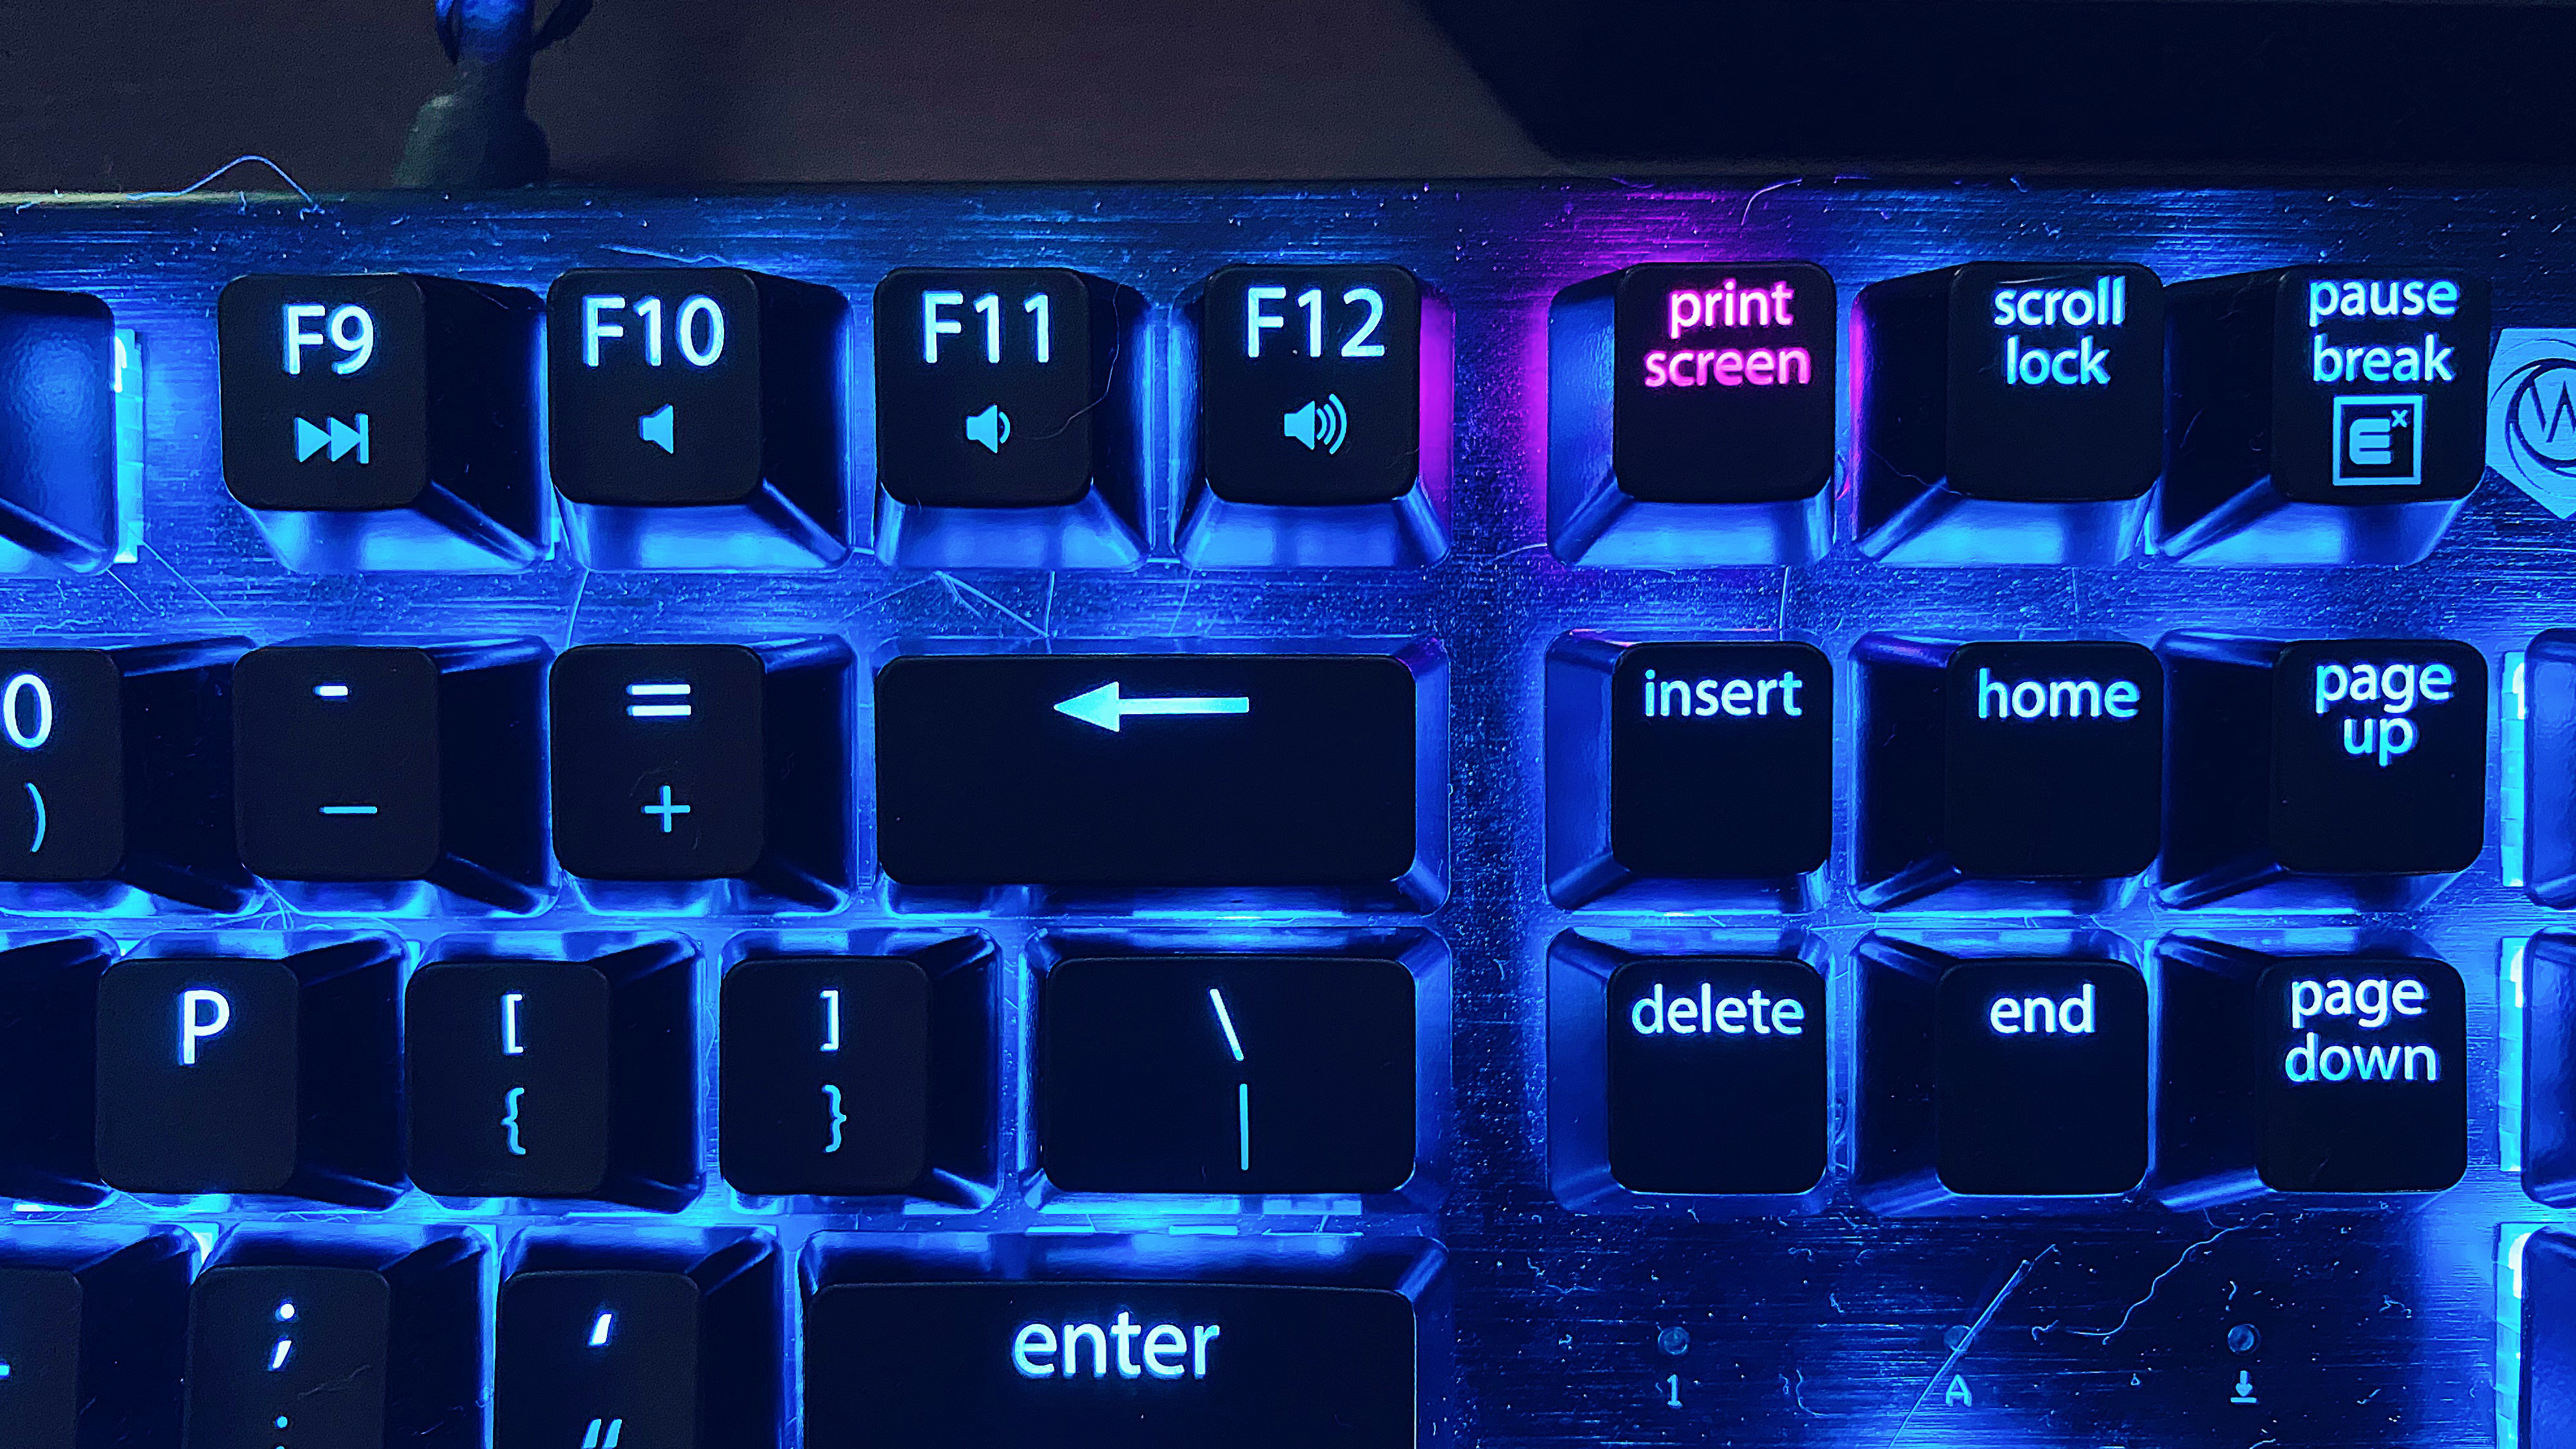
First, identify your Print Screen key
Your keyboard should have a Print Screen key, and it's easy to find. Look for a key, usually somewhere around the top right section of your keyboard, with the "Print Screen" on it. On some keyboards, it's written in shorthand, like "PrtSc" or it may be the secondary function of a key, in which case you'll need to use the "Fn" key of your keyboard to use it.
Once you've identified your Print Screen key and whether you need to press the "Fn" key to use it, you're ready to go.
How to screenshot on Windows with Print Screen
With the Print Screen key on your keyboard, you can either take a screenshot of your full screen or capture an active window.
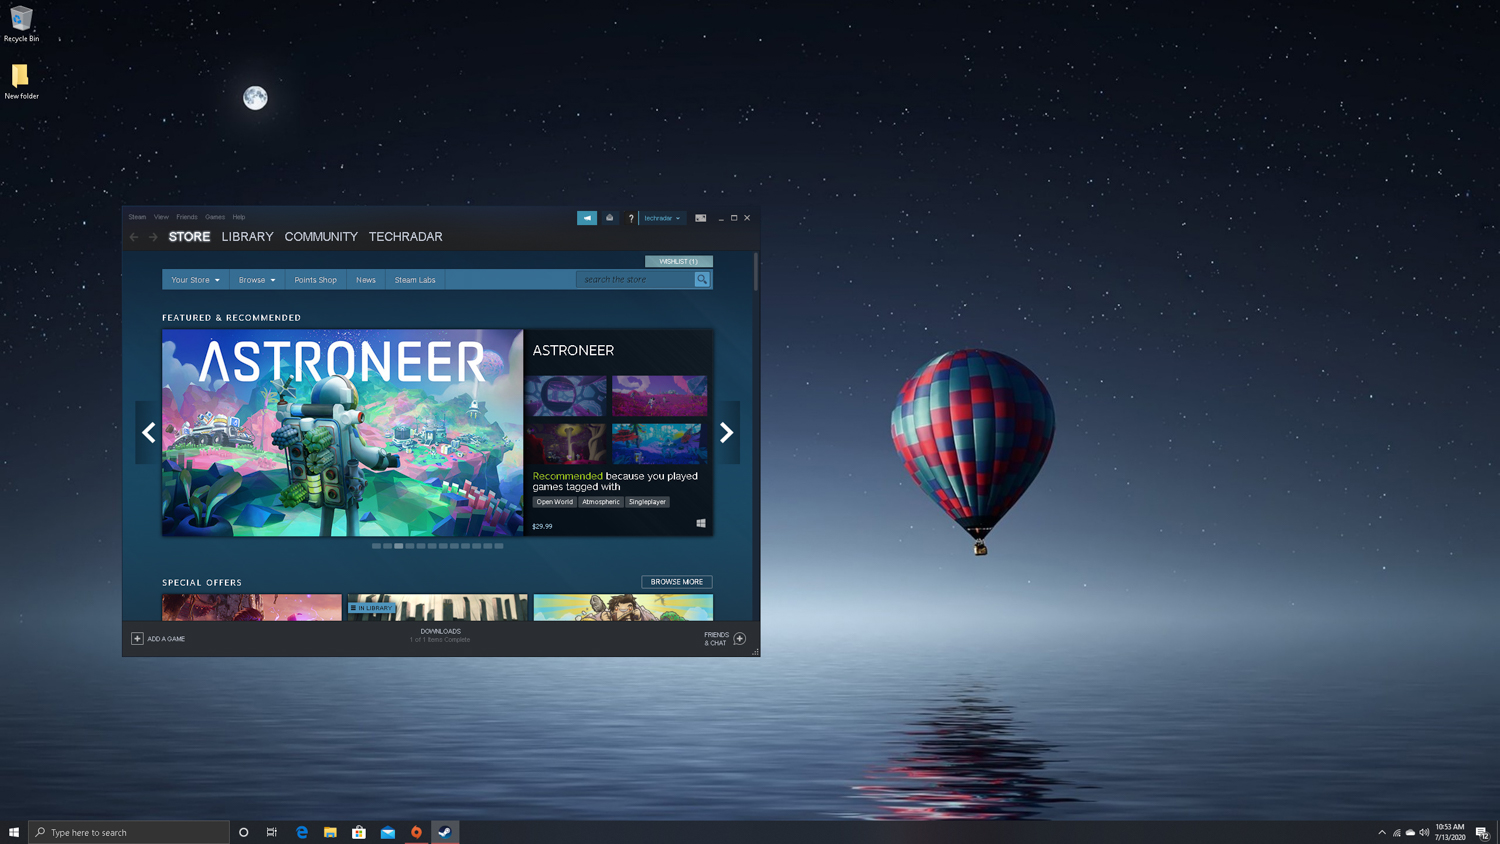
1. Taking a screenshot of the entire screen
Press the Print Screen key. This will immediately take a screenshot of your whole display (including any extended desktops you have). The screenshot is added to your clipboard, allowing you to paste it elsewhere, and automatically saved to your Screenshots folder.
Image 1 of 2

Image 2 of 2

2. Taking a screenshot of an active Window
To capture just your active window, press Alt + Print Screen instead. This will take a screenshot of just the active window – so, if you've got several windows open, be sure to select the specific window you want to capture to make it active. Like with the full screen screenshot, this is added to your clipboard as well as automatically saved to your Screenshots folder.
Image 1 of 2
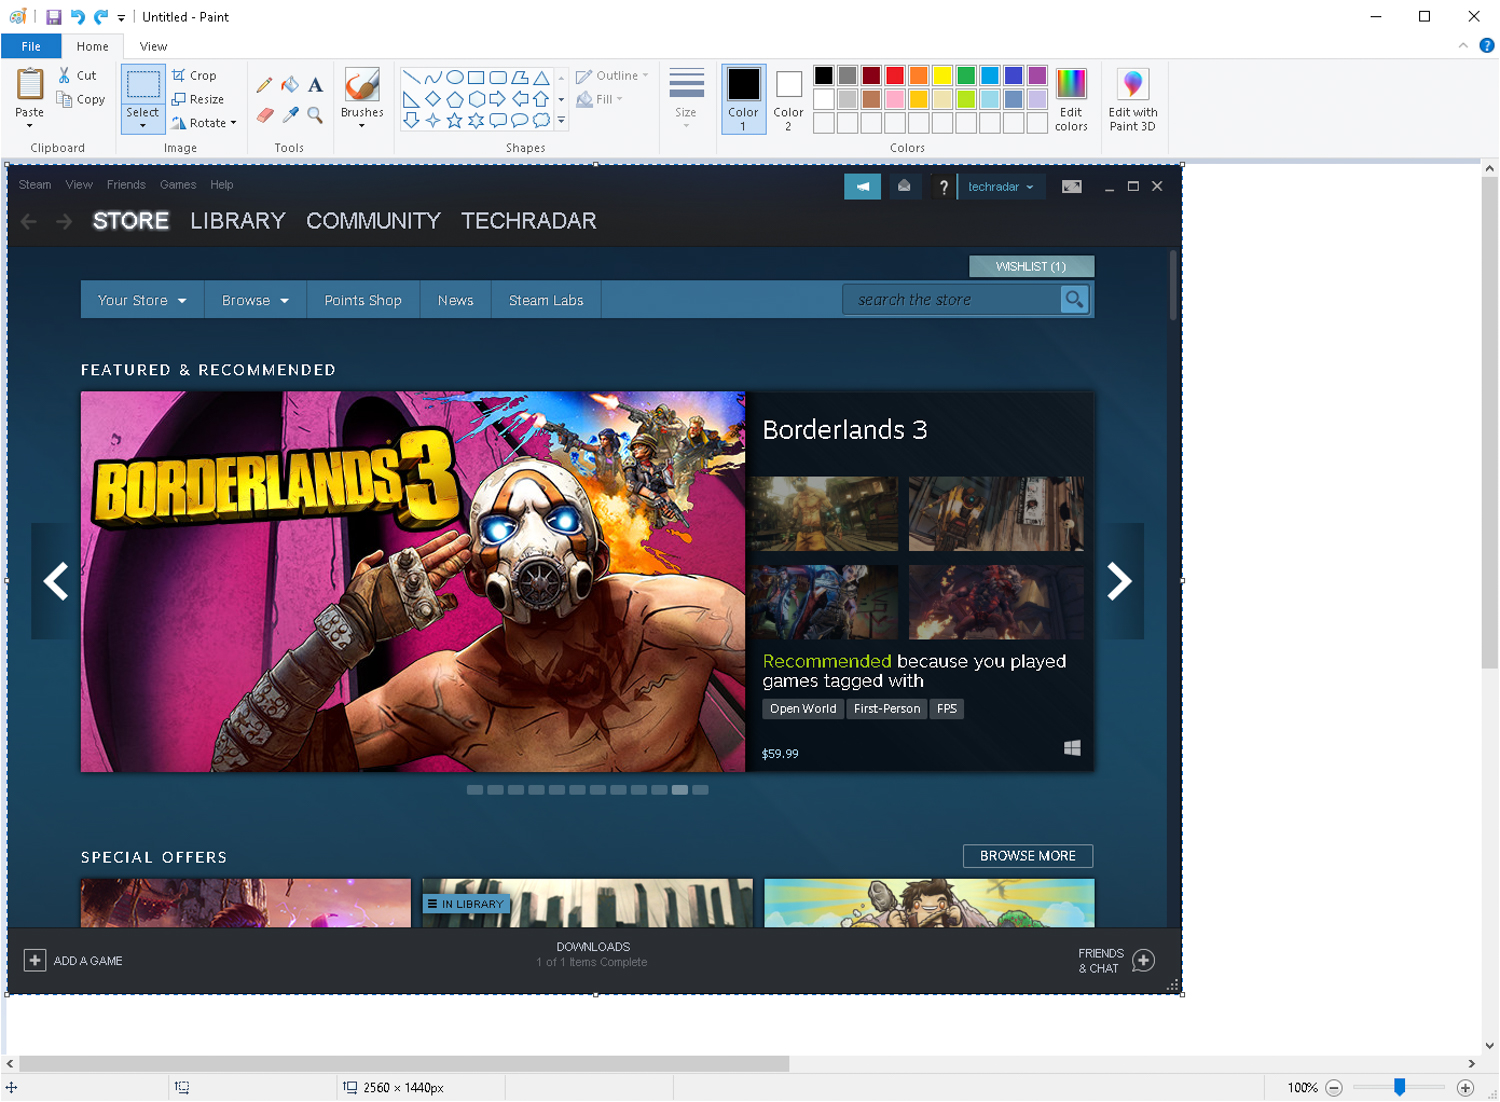
Image 2 of 2
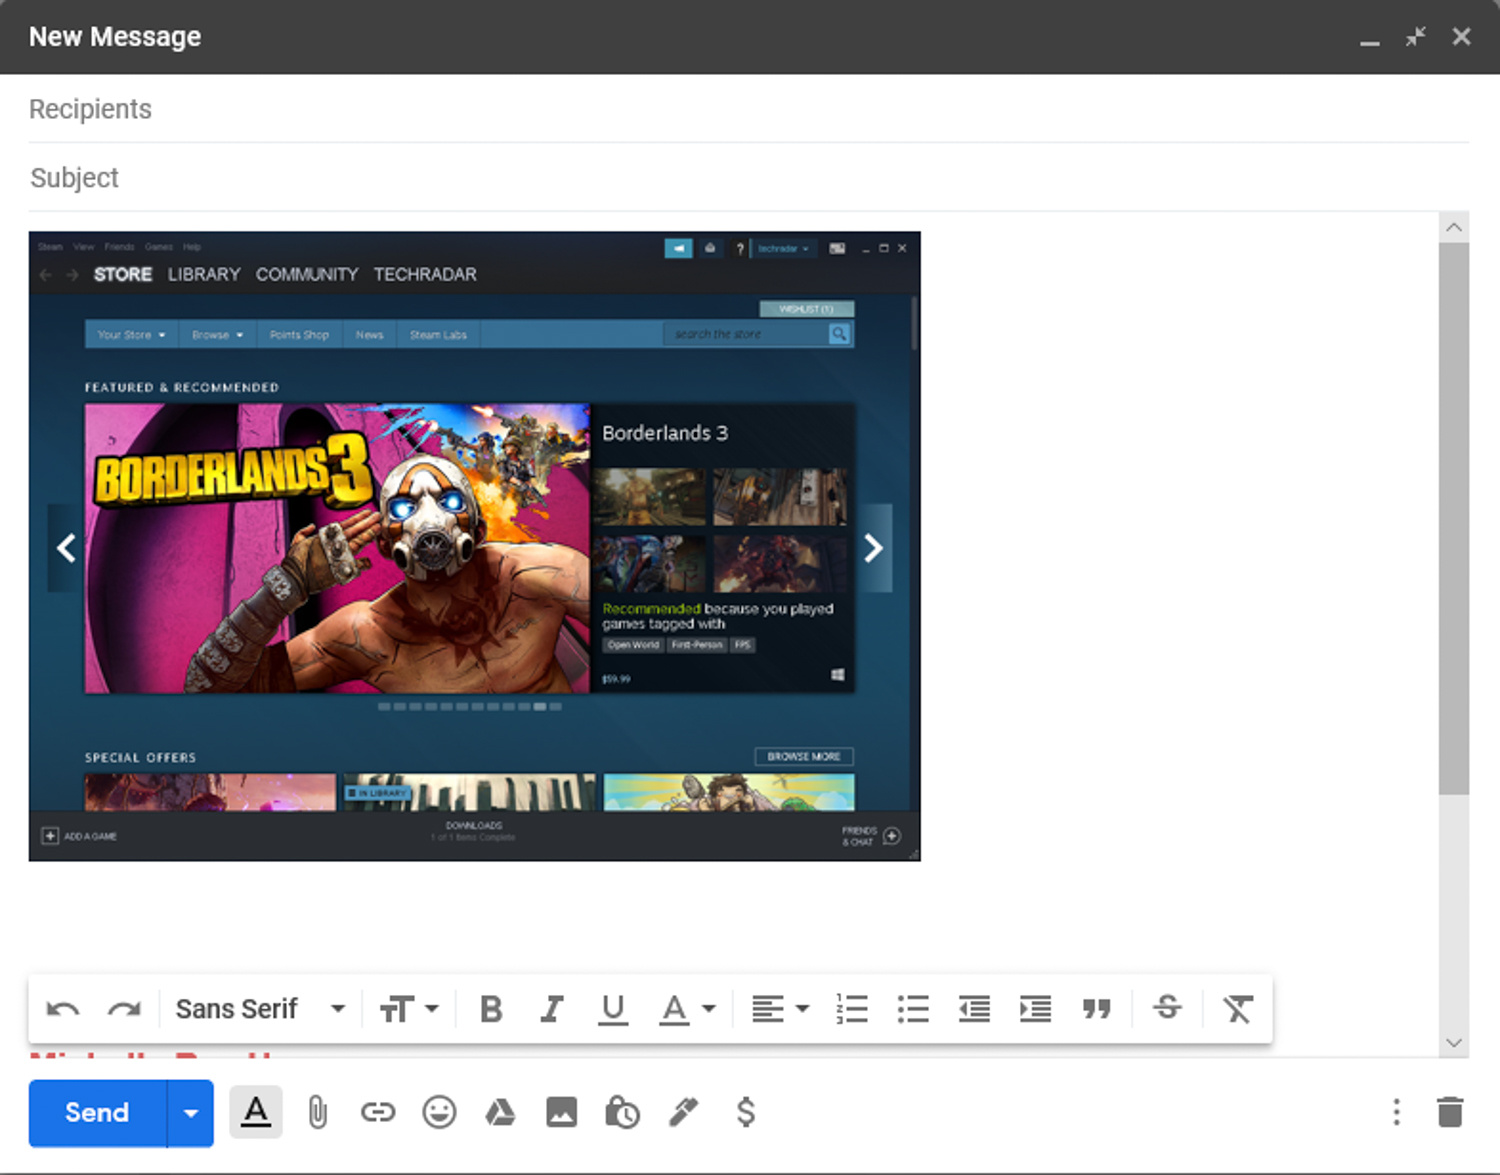
3. Paste the capture screenshot where you want it.
Once you take a screenshot, that screenshot is added to your clipboard, allowing you to quickly paste it into some applications. You can paste it into an image editor, like Paint 3D, to edit and save it. Or, you can share it with a friend or colleague by pasting the image into a chat or email.
That's all there is to it if you just need a way to quickly share what's on your screen. However, there are more advanced ways to screen capture on PC.
How to capture portions of your screen
If you'd rather be a little more precise with your screenshots, Windows 10 has a couple tools that can help you. Microsoft has rolled out this app called Snip & Sketch, replacing the old Snipping Tool, and it allows you to take screenshots in several different ways, as well as edit and annotate those screenshots.
Image 1 of 3
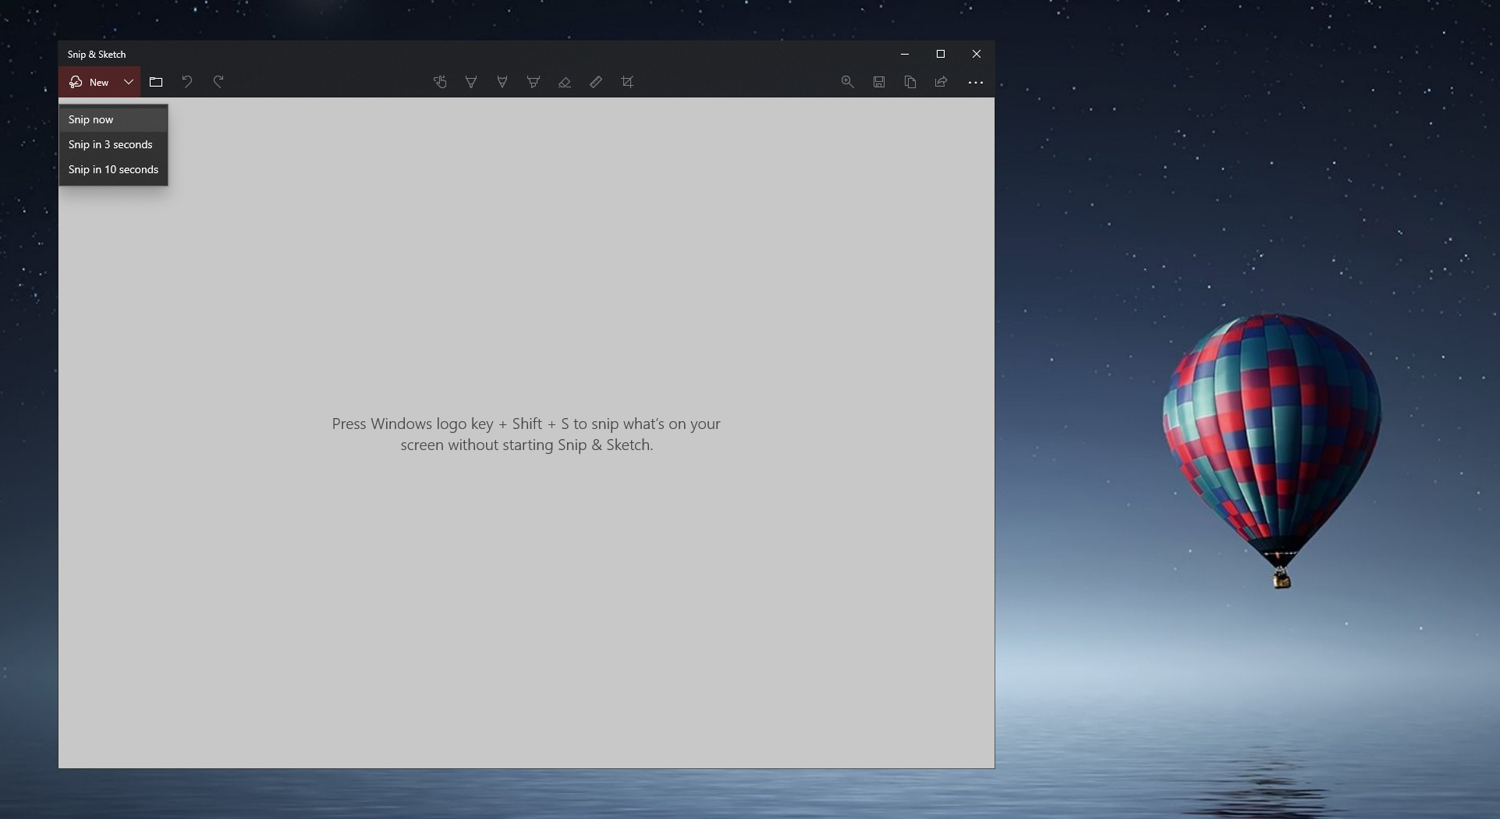
Image 2 of 3
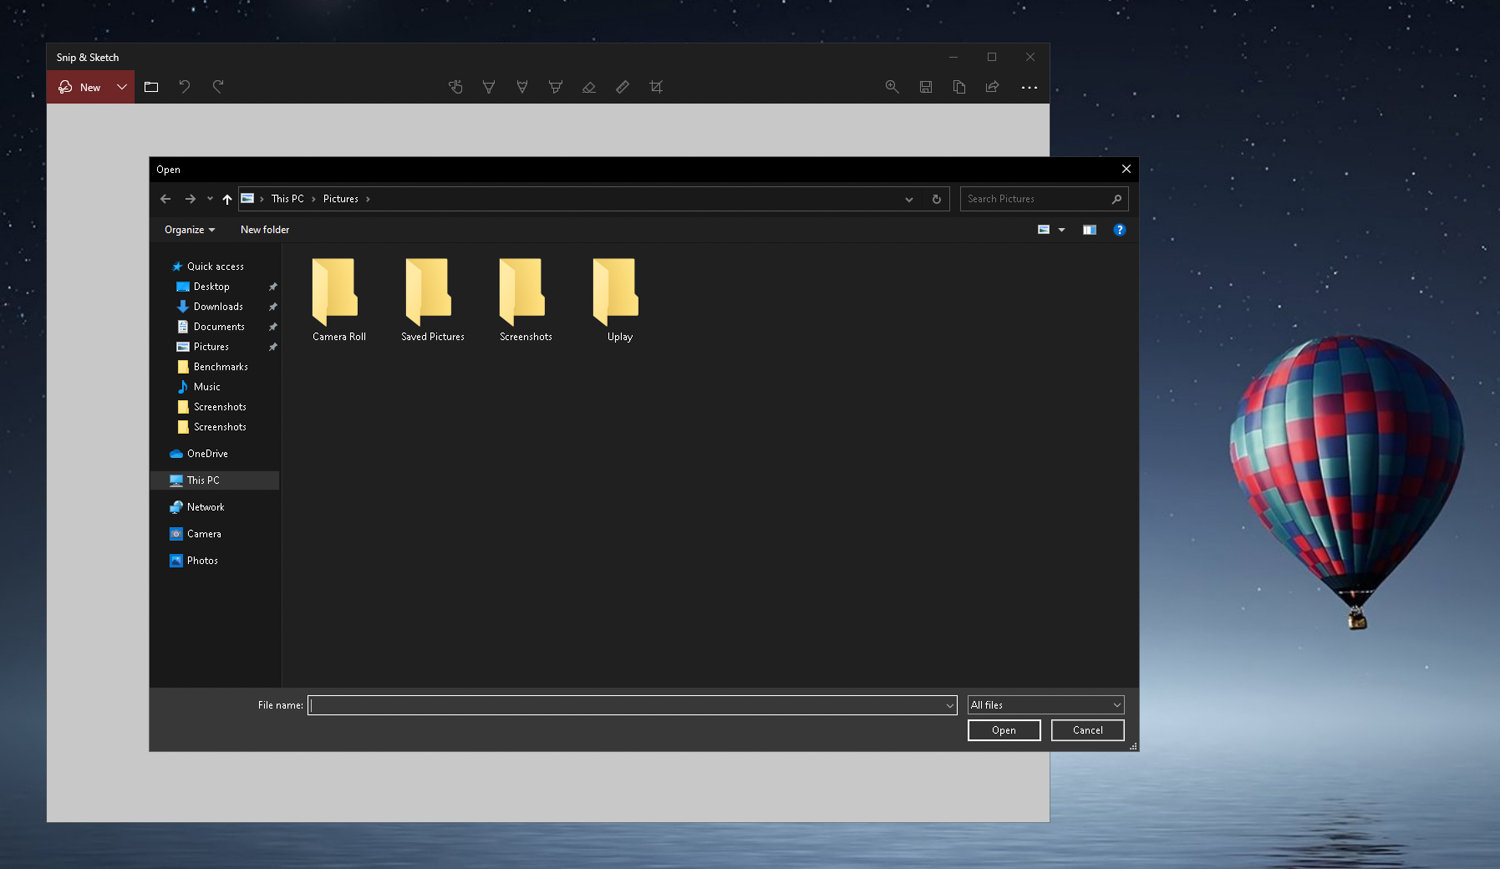
Image 3 of 3
Snip & Sketch gives you the option to take screenshots now or in a few seconds, if you need some time to prepare. Additionally, it will allow you to edit, crop and annotate existing screenshots, even the ones you haven't taken with the app.
To run the Snip & Sketch app, simply type "Snip & Sketch" into the Windows 10 search bar to find the app and launch it.
Image 1 of 3
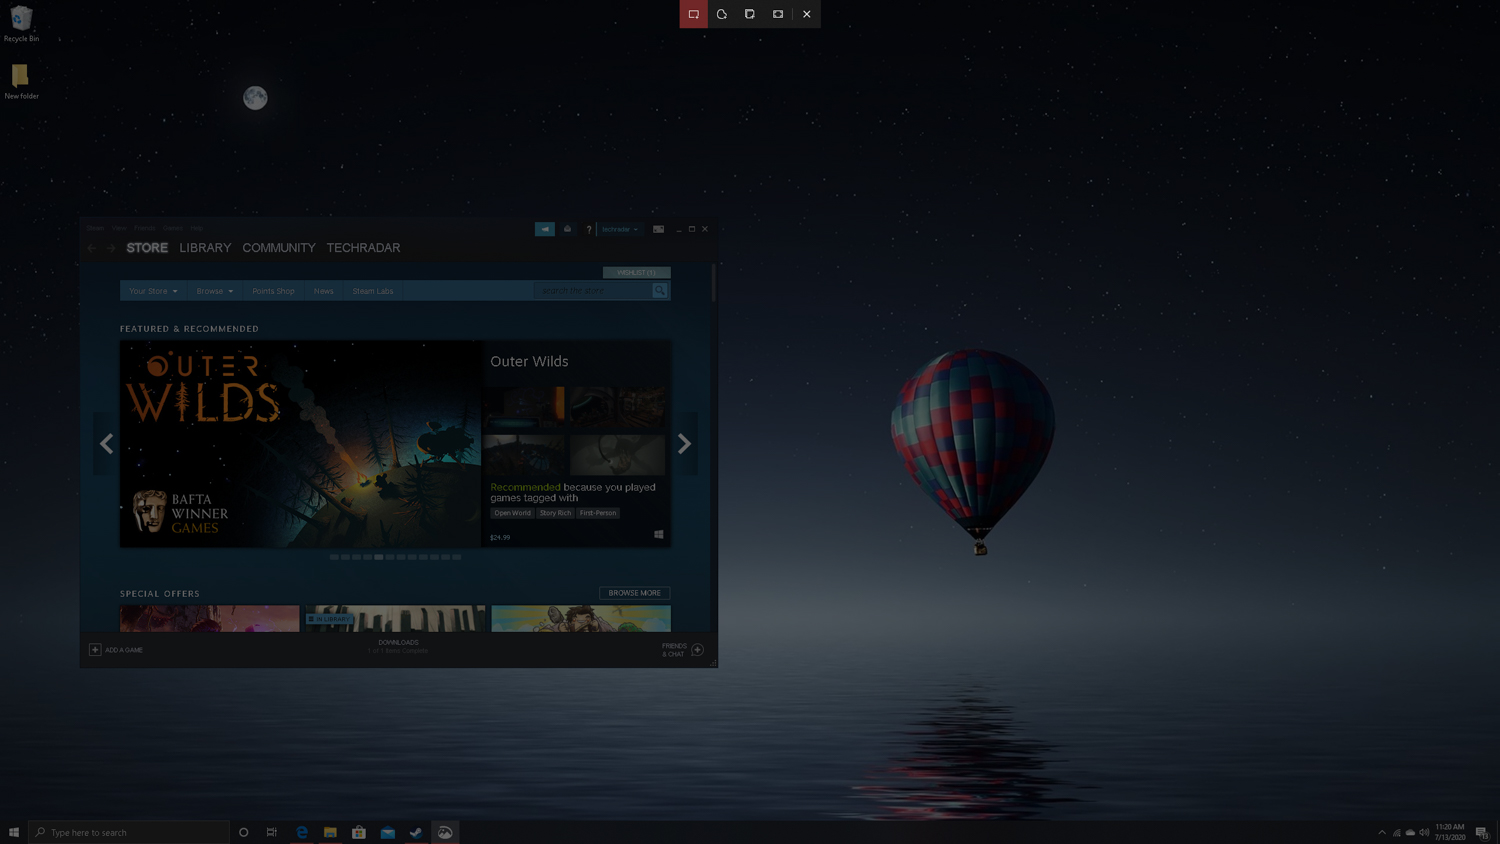
Image 2 of 3

Image 3 of 3

1. Taking a screenshot of a specific area
To take a screenshot of a section of the screen you want to capture, click "New" and select when you'd like to take the screenshot. If you select "Snip now," your screen should darken and your mouse cursor should turn into a crosshair.
Simply position your mouse to the corner of the area you'd like to capture, click it, hold and drag until the entire area is selected then let go.

As with the first screenshotting technique we went over, this method captures the screenshot and adds it to your clipboard. Snip & Sketch will also immediately display your new screenshot inside the app. There, you can edit your new screenshot, annotate it and save it as a file.
Image 1 of 3

Image 2 of 3
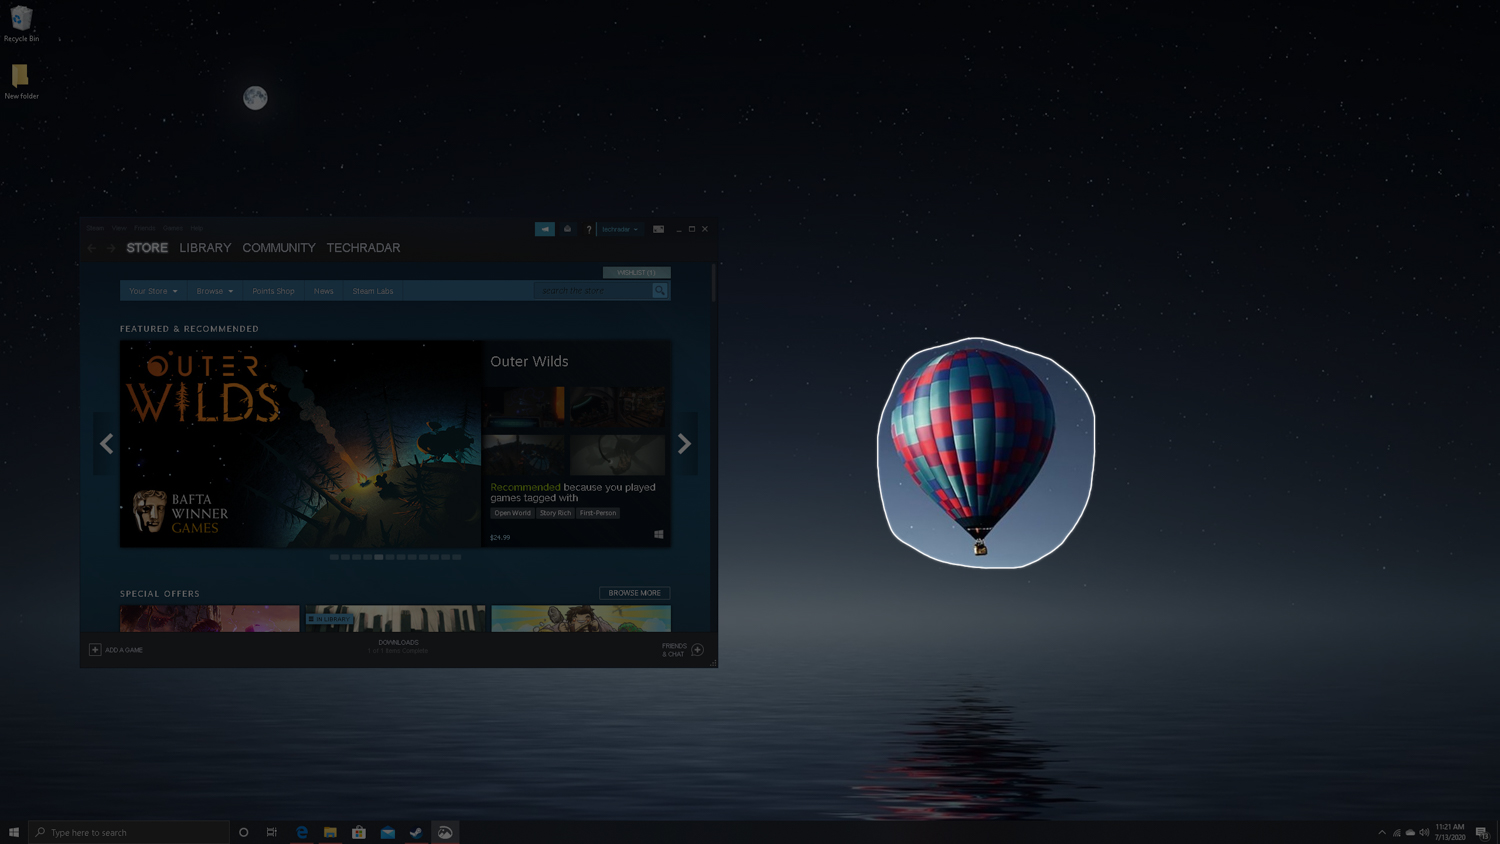
Image 3 of 3
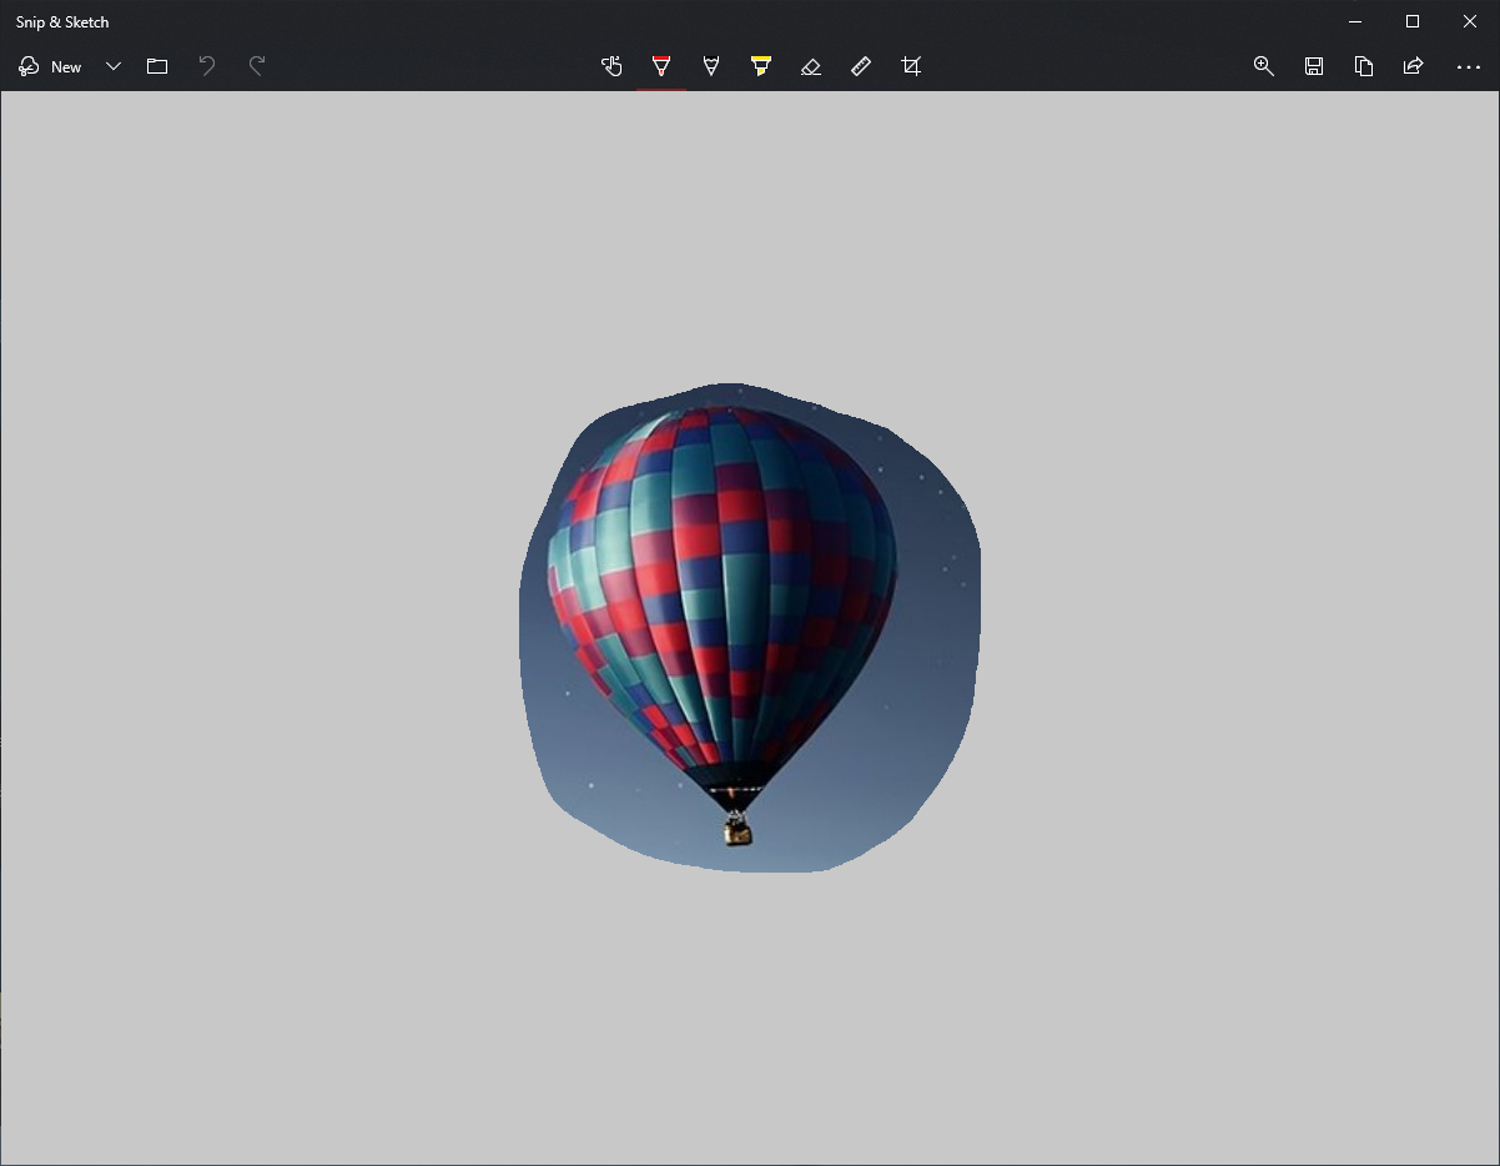
2. Taking a screenshot freeform
You can also draw a freeform capture space. To do this, click "New" and select the Freeform option from the buttons at the top of the capture screen. Much like the step above, simply position your mouse to the corner of the area you'd like to capture, click it, hold and drag until the entire area is selected then let go.
This method also adds your screenshot to your clipboard and displays it on the Snip & Sketch app.
Image 1 of 2
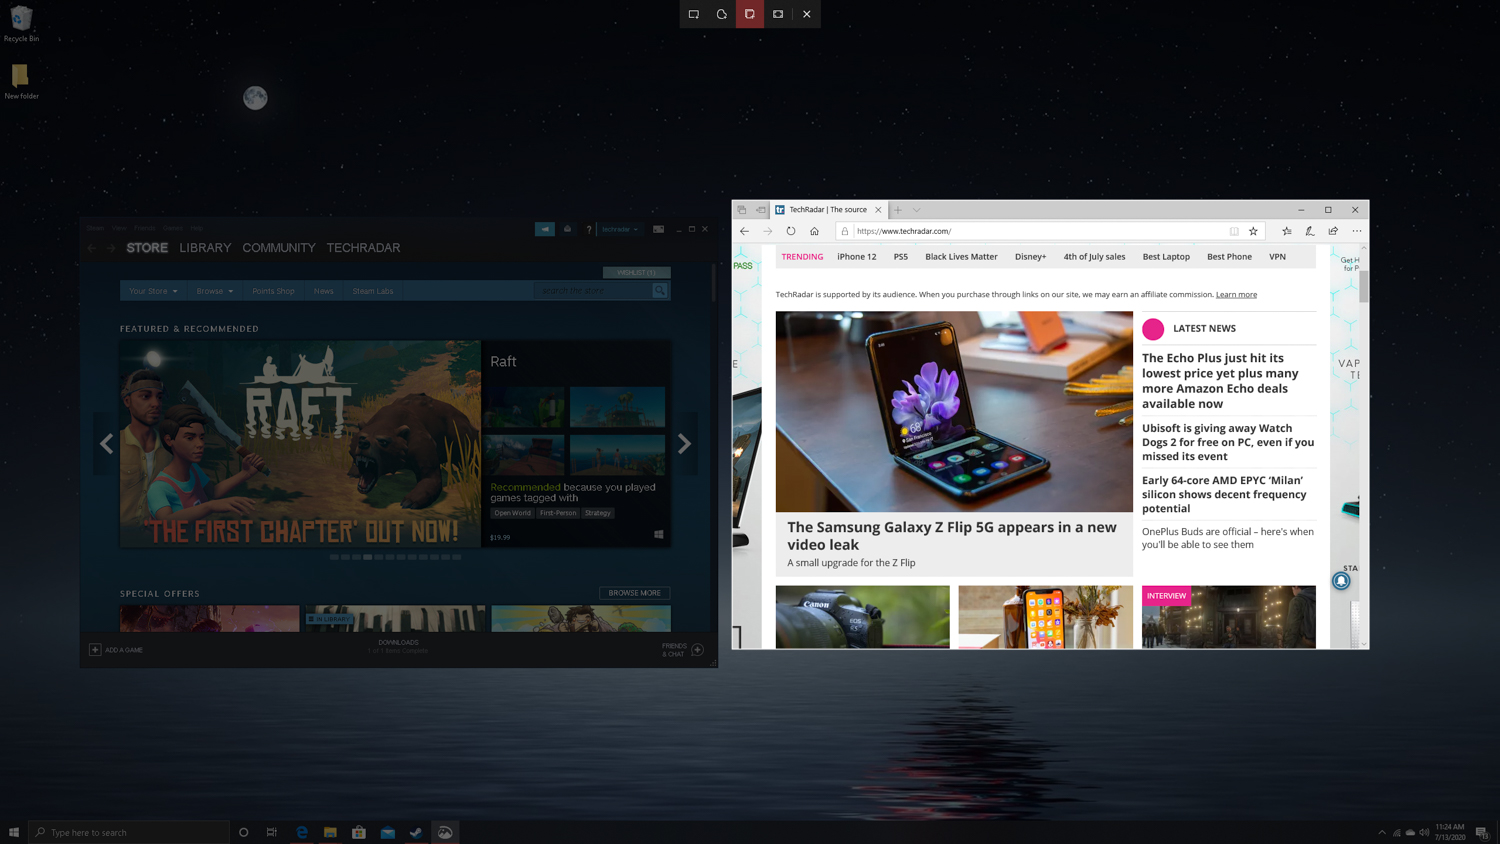
Image 2 of 2

3. Taking a screenshot of a Window
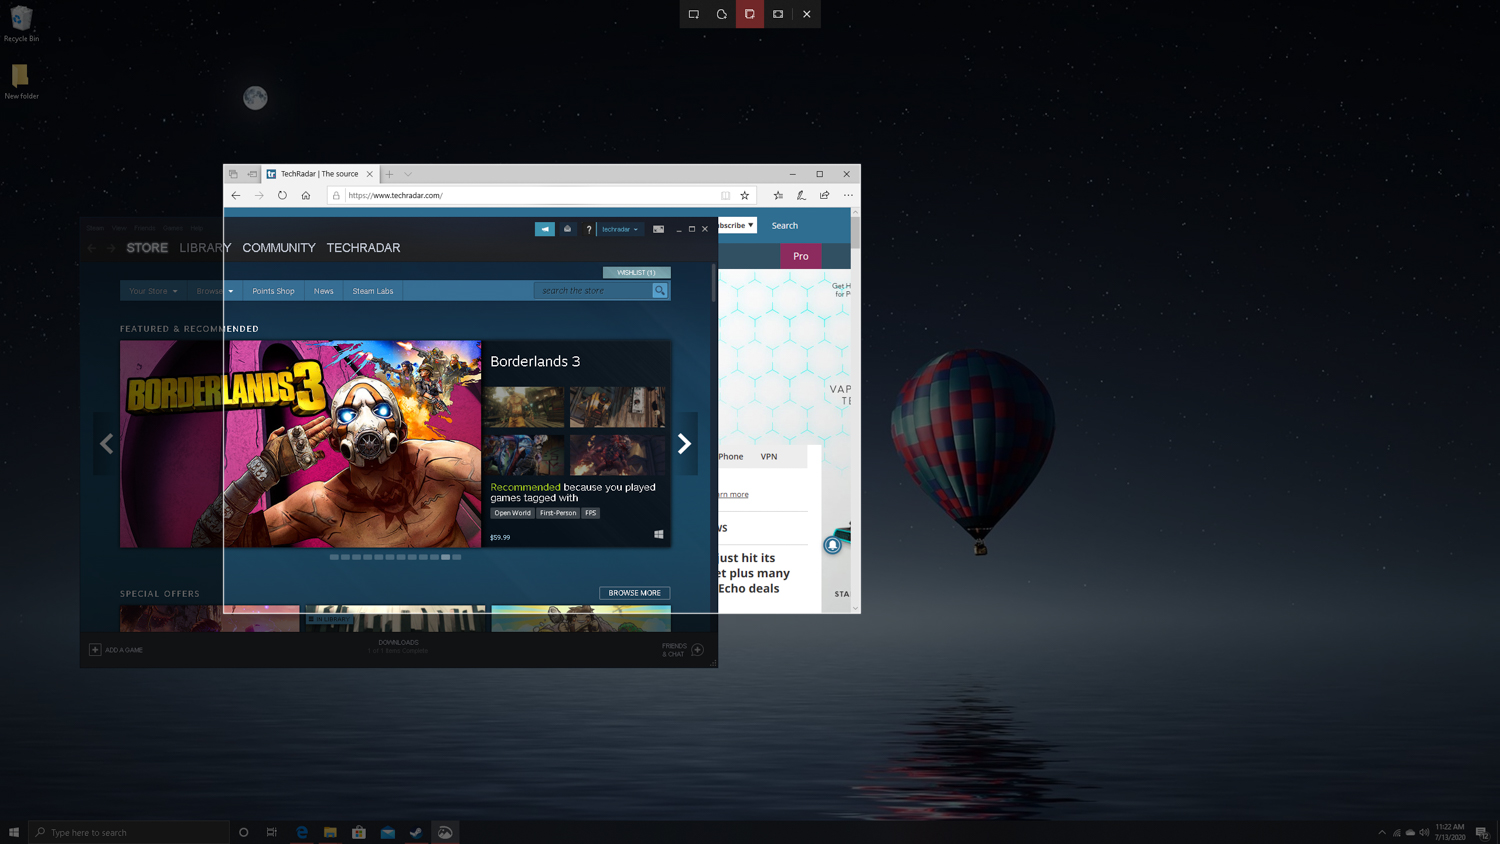
The Snip & Sketch app also allows you to quickly take a screenshot of a specific window, even the non-active ones. To do so, click "New" and select the Windows Snip option from the toolbar at the top. If you have several windows open, simply highlight the window you'd like to capture with your mouse pointer and click.
Image 1 of 2
Image 2 of 2
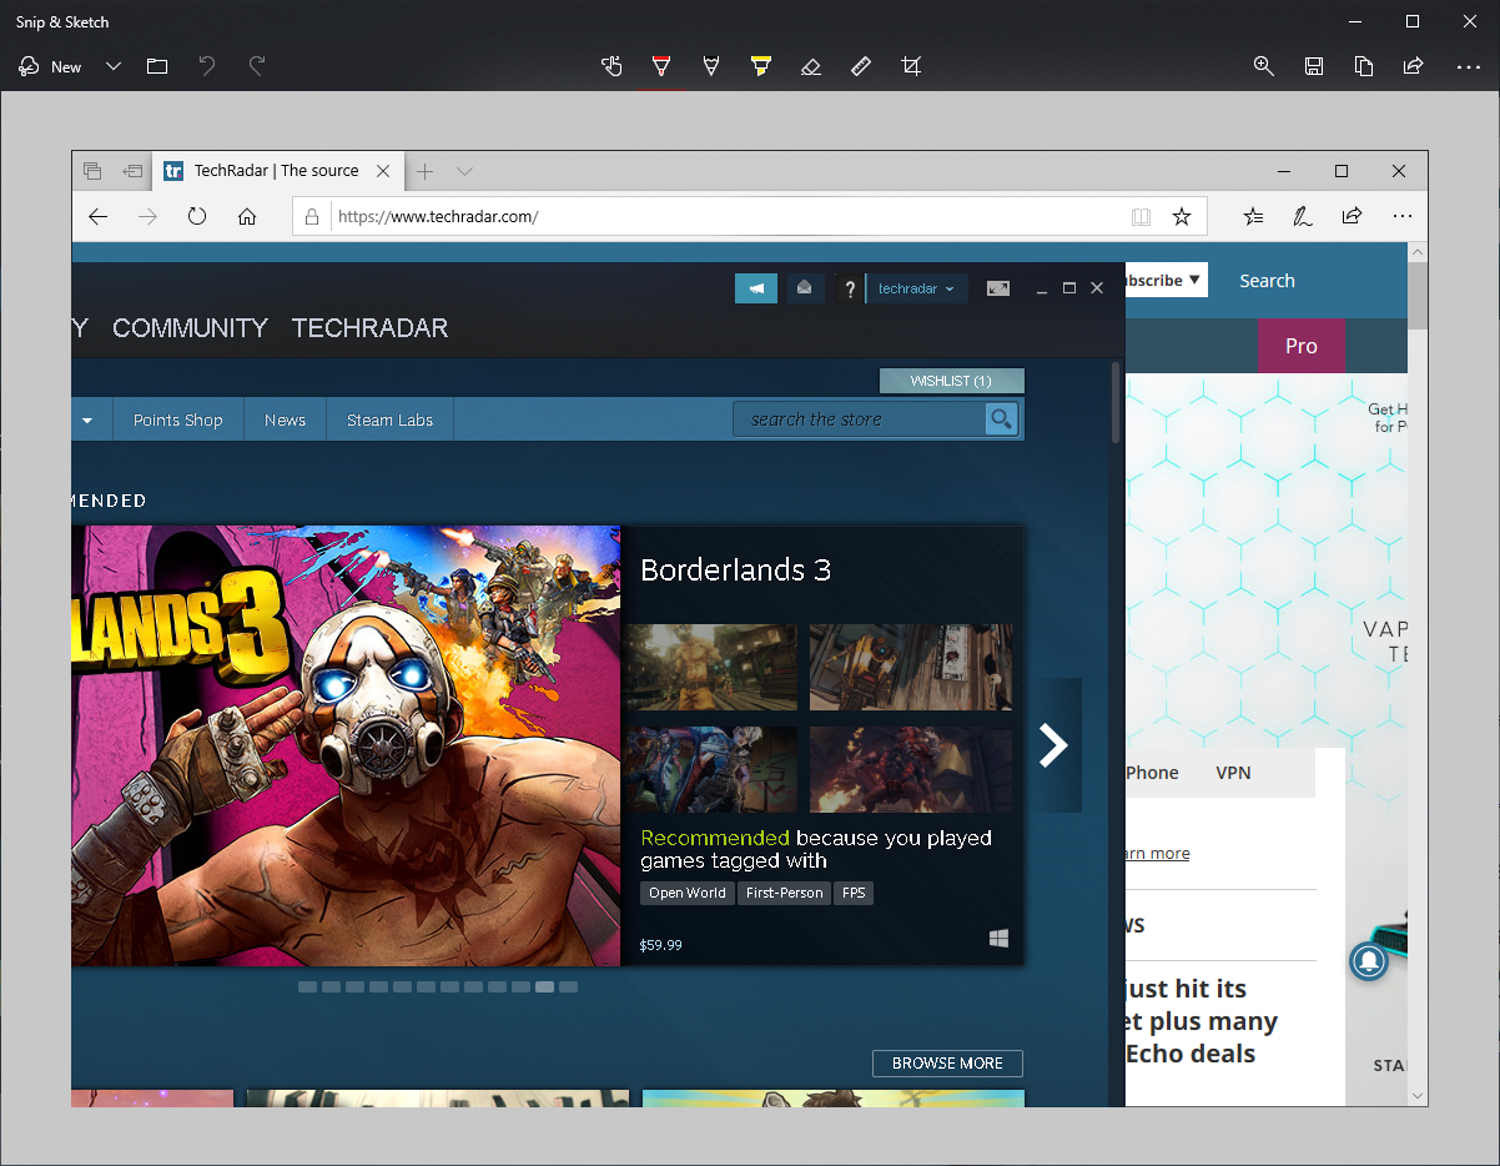
Bear in mind that if you've got cascading or stacked windows, you can still highlight and select a window behind the first one to take a screenshot of it. However, unlike on a Mac, Windows 10 doesn't actually take a screenshot of it as how it would look if it was the active window. Instead, it also captures the portion of the active window that's obstructing it, resulting in a funky looking screen capture.
Before using this tool, make sure that the window you'd like to capture is unobstructed for a more successful screenshot.
4. Snip & Sketch shortcut
If you'd like to take an extra quick screenshot with Snip & Sketch, some more recent versions of Windows 10 (Creators Update and later) use the keyboard shortcut Shift + Windows Key + S to jump right into capture mode.
- Need a new laptop? Check out the best laptops here

Over the last several years, Mark has been tasked as a writer, an editor, and a manager, interacting with published content from all angles. He is intimately familiar with the editorial process from the inception of an article idea, through the iterative process, past publishing, and down the road into performance analysis.
How to Take a Snapshot on Windows 10
Source: https://www.techradar.com/how-to/how-to-screenshot-on-a-pc
0 Response to "How to Take a Snapshot on Windows 10"
Post a Comment