What Humidity Level Should My House Be in Winter
Bert spent 25 years working as a home-improvement and residential construction contractor in central Florida.
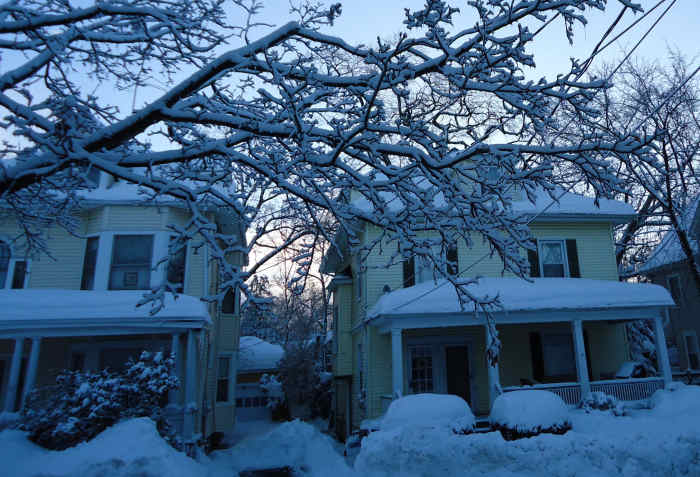
Keep your house safe during the chilliest of winters.
A brutally cold winter can take serious money out of a homeowner's pocketbook. Winterizing an older home lowers its energy cost and helps maintain a comfortable living condition. Smaller projects, such as sealing drafty windows, can easily save the cost of materials in a single season. Some larger projects may qualify for a tax credit. Most winterizing projects do not require a professional contractor, only require a few hours of labor, and keep the winds of a strong polar vortex at bay.
In this article, we'll look at how to winterize the following areas of your house:
- Attic
- Water Pipes
- Basement
- Exterior
- Interior
- Windows and Doors
- Service the Heating System
Winterize the Attic
Attic ventilation and rafter insulation work together to protect the roof from winter's effects. The ventilation system lets the attic breath, which keeps the attic roughly the same temperature as the outside air. Poor attic ventilation creates a temperature imbalance that creates ice dams. After a snowstorm, warm attic air melts the thin layer of snow resting on the roof. The moisture creeps under shingles and flashing. Then at night, the cold outside air refreezes this moisture, creating an ice dam. As the ice dam builds, it lifts shingles and possibly flashing off the roof deck. This daily cycle destroys the roofing material.
Proper attic ventilation prevents the ice dam from forming; however, it also creates a cold zone directly on top of the house's living space. This is where rafter insulation steps in. Insulation acts as a thermal barrier between the living space and the attic, lowering the home's heating requirements.
Look at each part of the attic ventilation system. Keep storage items away from gable louvers—the vents penetrating the siding. Remove any insulation blocking the rafter vents if equipped. Rafter vents, sometimes called insulation baffles, hug the roof deck near the exterior walls. They allow air transfer between the soffit and the attic space. Check the ridge vents for blockages, such as wasp nests and leaf buildup.
Never place insulation against non-approved recessed lights.
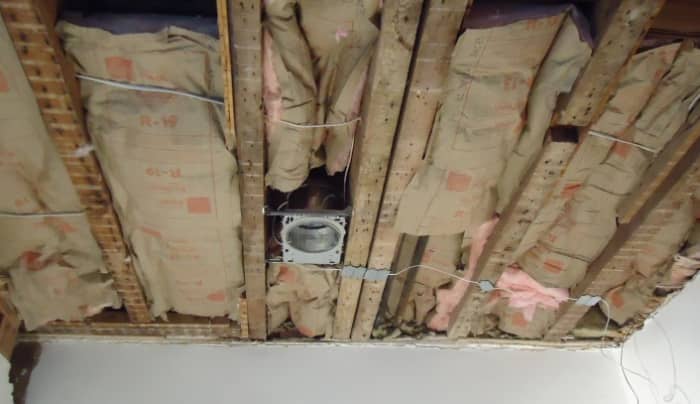
Inspect the attic insulation. Look for gaps near plumbing vent pipes and along each rafter. Readjust as necessary. Keep insulation at least 3 inches away from recessed lights, unless they are insulated ceiling rated (called IC Rated). Because a recessed light, often called a can light, mounts above the drywall, its heat dissipates into the attic. Insulating non-IC rated recessed lights overheat the housing. Check the depth of loose-particle insulation in several spots throughout the attic. Loose-particle insulation settles after a few years, losing some of its R-Value. Poorly insulated attics allow a tremendous amount of heat loss during the winter.
Many homeowners choose to winterize their old house with an extra layer of rolled insulation. This project saves money all year long. Use rolled insulation without a vapor barrier. Using insulation with a barrier can cause condensation problems during the hot humid months of summer. Run the second layer of insulation perpendicular to the rafters, and avoid blocking rafter vents and can lights. Make sure each piece butts up against its neighbor.
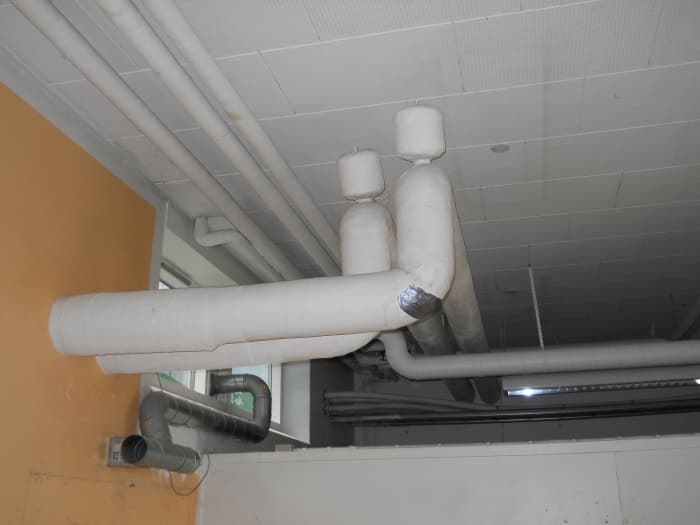
Pipe insulation winterizes the plumbing system.
By User:EPO (Own work) [Attribution], via Wikimedia Commons
Protect Water Pipes
Cover all water pipes and the water heater with the appropriate insulation. The type and minimal thickness required depends on the local climate and building codes. Even if extended freezing conditions are not likely, insulating the water system reduces the water heater's workload and expense. During periods of extreme weather, weatherizing the water pipes helps prevent freezing pipes.
Wrap a piece of pipe insulation around a section of pipe. Either apply the appropriate adhesive to the seam or remove the film covering a self-sealing insulation's adhesive. Close the seam. Butt the ends of each section together, creating a tight joint. Seal each joint with either a pipe-insulation adhesive or all-weather duct tape.
Test all-electric heat-tape strips, if applicable. Some homeowners in northern climates wrap electric heat tape around exposed pipes. Check each splice and the plug for corrosion and exposure. Turn on the heat tape. After a few minutes, the tape should feel warm to the touch.
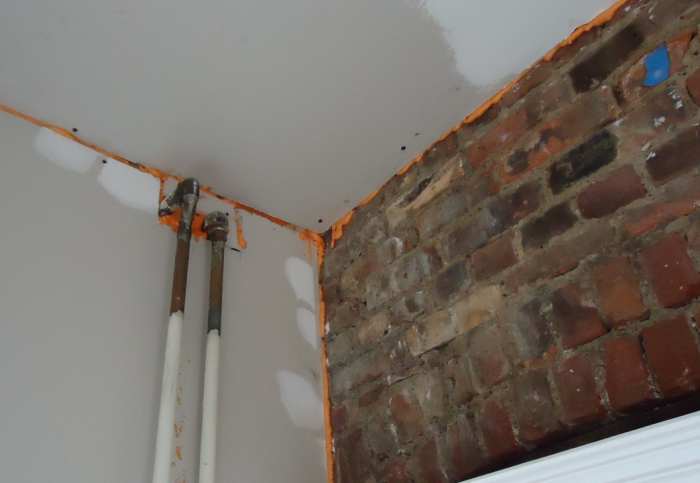
Fill gaps along the basement's walls and ceiling with a foam sealant.
Winterize the Basement
Winter's effects settle in a home's basement. Cold air not only chills the first floor's decking, but it also makes the heating equipment run longer and work harder than necessary. It takes time and energy to heat the water pipes and air ducts running through the floor trusses. Drafts also enter the walls in the center of the house through wire and pipe chases.
A draft not only allows cold air in, but it also forces warm air out. Fill gaps along the foundation and around pipes and ducts with an aerosol foam sealant. Place the end of the sealant's nozzle into the crack. Depress the trigger and let the foam fill the crack before moving the nozzle.
Read More From Dengarden
Insulate the floor trusses between the first floor and the basement ceiling. Use insulation with a vapor barrier and seal the paper flanges to the bottom of the floor trusses. The vapor barrier limits air movement through the insulation.
Winterize the Exterior
Inspect the house's exterior siding for loose boards and secure as needed. Seal any draft-causing gaps and cracks along the trim with an exterior-grade caulk. Spray foam sealant into the space between the home's foundation and its siding. Gaps here allow gusts of cold air into the exterior walls. Any voids in the wall act as a duct, directing cold outside air throughout the home. Fill cracks less than 1/4-inch wide with an exterior-grade caulking. Fill gaps larger than 1/4-inch with expanding foam. Paint all exposed wood. Open each electrical outlet and replace any damaged foam insulation.
Clean all overhanging or dead branches from any nearby trees. Remove all debris from the roof, gutters, and downspouts. Pay special attention to the area above all vent stacks and the chimney. Clean the ridge vent's bug screen, if equipped. Be careful, many homeowners have found wasp nests hiding here.
Winterizing Inside the Home
Visit each room and look for opportunities to lessen heat loss. Close the room's window blinds and curtains. Lower the baseboard heater thermostat, if equipped. Dampen all of the heating vents. Service any room dehumidifiers. Close all doors and fill the gap between the door and floor with a draft sweep, sometimes called a draft snake.
Replace the batteries in all of the CO2 and smoke detectors throughout the house, even if the battery still works. A fresh battery should keep the alarm working for a full year. Active alarms save many lives each year. Test each alarm to verify its new battery functions properly.
Reverse the direction of all ceiling fans. The blades should turn in a clockwise direction during the winter and counterclockwise in the summertime. A clockwise spin pulls cold air up toward the ceiling and directs hot air down.
During nights of extreme cold, let the faucets drip. A slow flow keeps water circulating through the pipes, which helps prevent freezing. Disconnect and drain the garden hoses.
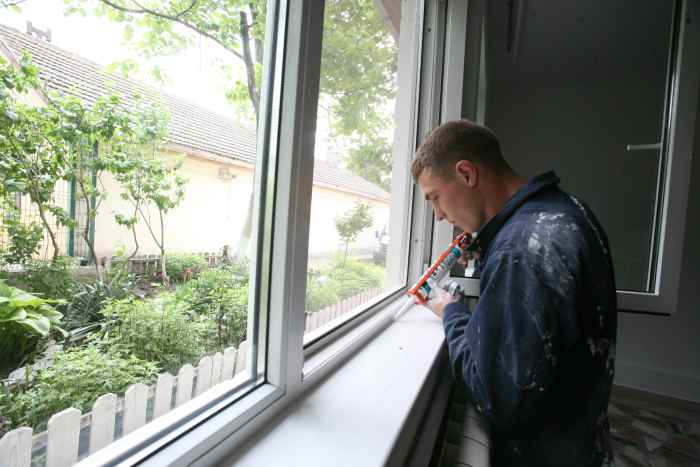
Seal windows inside and outside.
Winterize Windows and Doors
Many older homes have leaky or poorly insulated doors and windows. Often neglected, loose-fitting basement windows and entryways allow a tremendous amount of winter air downstairs. Simple things, such as replacing window screens with storm windows, increase the energy efficiency of an older house.
Replace damaged weather stripping around each window and door, including the garage door. Adhesive-backed foam insulation can be applied directly to the doorstop, the narrow strip of wood that runs around the center of the door frame. Many thresholds have a replaceable rubber insert that slides along a set of grooves.
Window film reduces heat transfer through the glass. Windows with a Low-E coating reflect heat away from the glass. If you live in a northern climate, install low-E window film on the inside surface. Homeowners in southern climates coat the outside of the windows, reflecting heat away from the interior.
Some homeowners choose to seal single-pain windows with plastic sheeting. The extra air gap creates an additional thermal barrier, which lessens heat loss. Measure the height and width of the window and add two inches to each measurement. Transfer the total to a sheet of plastic. Cut the plastic to size with scissors. Attach the plastic to the window frame with duct tape. A tight sheet of plastic will not touch the glass, leaving an insulating layer of air.
Service the Heating System
A house's heating system has many parts that a homeowner can service without calling a licensed heating contractor. Change the furnace filter. Check the pilot light, if applicable. Cover any exposed heat-pump refrigerant lines with refrigerant-grade pipe insulation. Inspect and repair leaking heating ducts with duct mastic.
All furnaces and wood-burning stoves should have a yearly professional preventative maintenance inspection. The technician will check the system for dangerous conditions and make maintenance recommendations. Stock up on wood or heating fuel.
Inspect the chimney, chimney cap, or screen for obstructions and creosote buildup. Clean as needed. Verify the back-draft damper has a full range of motion. A professional contractor should inspect and clean poorly maintained and heavily used chimneys.
This article is accurate and true to the best of the author's knowledge. Content is for informational or entertainment purposes only and does not substitute for personal counsel or professional advice in business, financial, legal, or technical matters.
© 2014 Bert Holopaw
What Humidity Level Should My House Be in Winter
Source: https://dengarden.com/home-improvement/How-to-Winterize-an-Old-House
0 Response to "What Humidity Level Should My House Be in Winter"
Post a Comment