How to Do a Wedding Program Easy Diy
7 Steps to Make Your Own DIY Layered Wedding Programs
Modern, Stylish, Made by You.
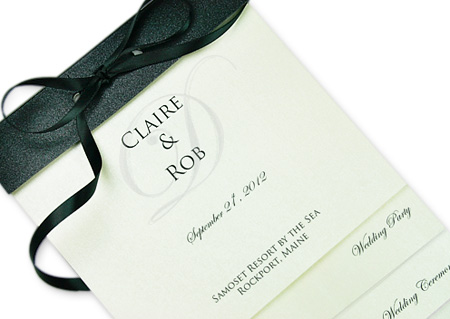
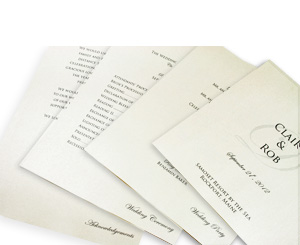
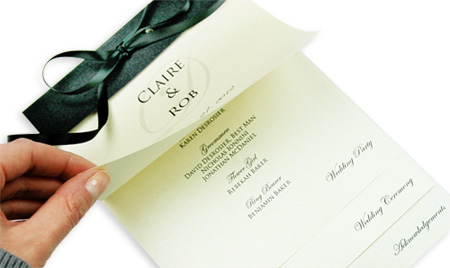
Layered wedding programs are increasingly popular due to their contemporary style and ability to fit lots of information into one organized, compact ensemble. In this DIY tutorial, you will learn how to make your own layered program like the one shown here, customized specially for your big event.
To make it convenient for you to recreate this design, the following tutorial includes:
- Materials list
- Microsoft Word print templates
- Printing instructions
- Step-by-step assembly instructions, tips & tricks
We've provided you will all the tools you need, and we'll even let you take all the credit. Read on to learn more!
Note: The instructions below can also be used to create a unique layered invitation that would fit inside of an A9 invitation envelope.
Materials List.
Here's What You'll Need.
- Card Stock – for program backer:
- 8 1/2 x 11 or larger to be cut to 5 1/2 x 9 1/2
- Text Weight Paper* – for layered insert sheets:
- 8 1/2 x 11 or larger to be cut to four sizes
- Scoring Tool – to score card stock backer
- Large Paper Trimmer – for cutting paper to size
- Hole Punch – to punch holes through all layers for ribbon
- Satin or Chiffon Ribbon to tie layers together
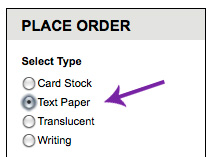
*To select text weight paper, be sure to select "Text Paper" in the "Place Order" box, shown right.
Here's How it All Comes Together.
To give you a better idea of how your layered program will come together, view the graphic below.
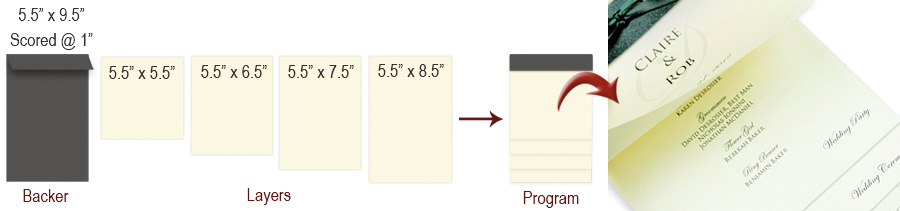
Step 1. Cut Backer And Layers To Size
 Begin by cutting all of your layers to the sizes detailed above.
- Cut card stock backer to 5 1/2 x 9 1/2 inches
- Cut text weight sheets to:
- 5 1/2 x 8 1/2
- 5 1/2 x 7 1/2
- 5 1/2 x 6 1/2
- 5 1/2 x 5 1/2
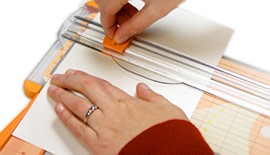
Tip: To yield accurate, straight cuts, a paper trimmer with a built in measuring tool, such as the one shown here, works best.
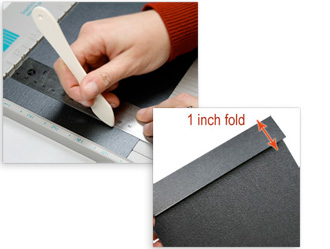
Step 2. Score Program Backer 1 Inch From The Top
After cutting your backer, it will need to be scored so that it can be fold over the top of your program layers.
Using your preferred hand scoring tool, hand score your card stock 1 inch from the top of the card, as indicated by the photo below.
Step 3. Download Word Templates For Layers
Now that you have all of your program components cut to size, you are ready to start customizing your programs. Begin by downloading the templates for the four program layers.
- Download 5 1/2 x 5 1/2 inch Word template for layer 1
- Download 5 1/2 x 6 1/2 inch Word template for layer 2
- Download 5 1/2 x 7 1/2 inch Word template for layer 3
- Download 5 1/2 x 8 1/2 inch Word template for layer 4
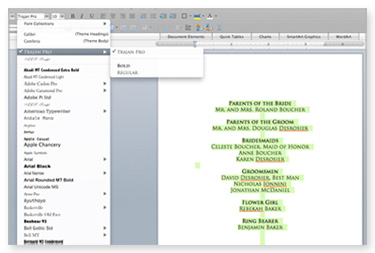
Step 4. Customize Program Wording
After downloading the templates, open each one, and change the sample wording to your own custom wording. Experiment with various fonts and sizes to find the look you prefer for your programs.
Tip: Be sure to keep your text within the allotted margins. Text placed above the top margin may not be readable, as this is the location where the program layers will be secured. Text placed below the bottom margin may be not be hidden by the layer preceding it.
Step 5. Print Program Layers
After customizing each layer, you are ready to print. Since your layers are not a standard 8 1/2 by 11 size, you will need to set your print driver to recognize that you are printing documents with custom dimensions. The following video will explain in detail how to do this.
Instructional video: How to print custom sized documents with your home computer and printer
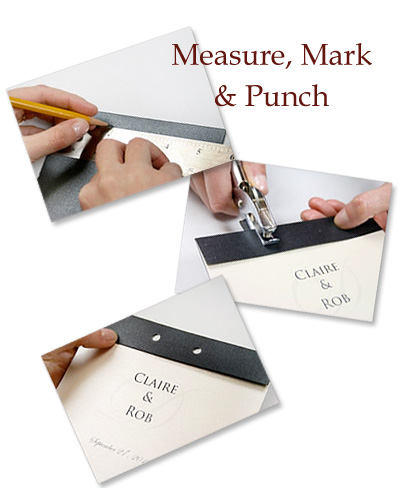
Step 6. Punch Holes Through Program Layers
Punching evenly spaced holes through all of your program layers is perhaps the trickiest part of this project. The easiest way to get even punches is to:
- Get an idea of how far apart you want your holes to be
- Measure for accurate hole punch location
- Make a small pencil mark where the hole will be punched
- Place the hole punch so that the pencil mark is in the center of the hole
For example, on the program in the photo, to ensure the punches were evenly spaced, marks were made, and holes were punched:
- 1/2 an inch down from the top of the program
- 2 inches in from the left of the program, 2 inches from the right of the program
Tip: Before punching holes in your printed programs, get a feel for how your hole punch works by testing it out on several layers of paper.
To complete your program, align all of your program layers, run a ribbon though the holes, and tie it in the front into a decorative knot or bow to hold it all together.
Source: https://www.lcipaper.com/kb/make-a-layered-wedding-program.html
0 Response to "How to Do a Wedding Program Easy Diy"
Post a Comment